How to Choose the Right Motorcycle Fairing for Your Bike
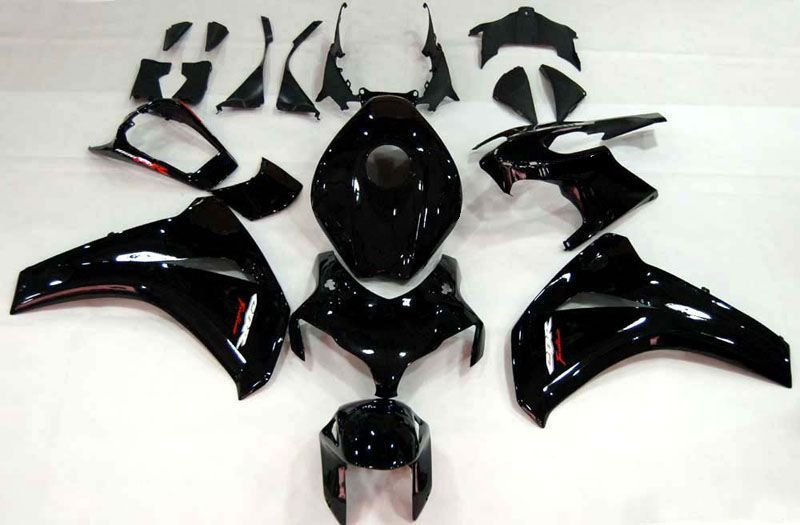
Installing new motorcycle kawasaki motorcycle fairings can be a rewarding experience, enhancing both the look and performance of your bike. While the process may seem intimidating, it’s straightforward with the right approach and tools. In this article, we’ll guide you step by step through installing your new motorcycle fairings.
Preparing Your Motorcycle for Installation
Before you begin, make sure your motorcycle is clean and on a stable surface, such as a bike stand. Remove any accessories or components that might obstruct the fairing installation. Take the time to inspect your bike’s existing fairings to check for any parts that need repair or replacement.
Gathering the Necessary Tools
Having the right tools is essential for a smooth installation. You’ll typically need screwdrivers, a socket wrench set, pliers, and a torque wrench. Some fairing kits come with installation hardware, but it’s always good to double-check. Make sure to also have a clean cloth and a protective cover for your bike.
Removing Old Fairings
Begin by carefully removing the old fairings. Start with the front cowl and work your way to the side and tail fairings. Use a screwdriver or wrench to unscrew the bolts, and be gentle to avoid damaging any parts. Keep track of all screws and fasteners for later reinstallation.
Aligning the New Fairings
Once the old fairings are removed, it’s time to fit the new ones. Start with the larger pieces, like the side fairings or front cowl, and align them properly with the mounting points. Ensure each piece fits snugly into place without forcing it. Take your time to achieve a perfect fit.
Securing the Fairings with Screws
After aligning the fairings, it’s time to secure them using the screws or bolts provided in your kit. Insert each screw into the corresponding holes and tighten them gently. Avoid overtightening to prevent cracking the fairings or stripping the threads. Double-check that all fasteners are properly secured.
Checking Fitment and Alignment
Once all the fairings are installed, take a step back and inspect their alignment. Ensure the pieces are evenly spaced and match the lines of the motorcycle. If necessary, make adjustments to ensure the fairings sit securely and evenly, ensuring no gaps or misalignments remain.
Reinstalling Other Components
If you removed any components, such as mirrors or headlights, now is the time to reinstall them. Make sure all connections are secure, and the electrical components, if any, are properly connected. Test the lights, indicators, and other parts to ensure everything is functioning correctly.
Final Touches and Customization
With the fairings securely installed, add any finishing touches like decals or protective films. Customizing your fairings with personalized graphics or stickers can enhance the look of your bike. Also, consider applying a protective coating to help preserve the paint and keep the fairings looking fresh.
Test Ride and Final Inspection
Once everything is installed and secure, take your bike for a test ride. Pay attention to how the fairings feel at different speeds and ensure there are no unusual vibrations. After your ride, conduct a final inspection to make sure everything is still tightly fastened and functioning as expected.
Conclusion
Installing new motorcycle fairings is a rewarding process that can greatly enhance the aesthetics and performance of your bike. By following these steps carefully, you can achieve a professional result and enjoy the benefits of your cbr1000rr fairing kit upgraded bike. With a little patience and attention to detail, the installation will be a success.